
Key Takeaways
- The roof is the main heat entry point. Your roof absorbs the most sun and becomes the main heat entry point into your home.
- Fans and AC cannot win. They do not remove the roof’s stored heat.
- Concrete stores heat. Concrete roofs store heat all day and release it slowly, keeping rooms hot even after sunset.
- Quick fixes fail. White paint and sprinkling water ignore prep, thickness, and curing.
- Combine solutions. The best long term comfort comes from combining heat proofing with waterproofing.
If your house feels the hottest on the top floor, you are not imagining it. Your roof is like a giant hot plate sitting in direct sun for hours, and once it heats up, it starts pushing that heat into your rooms through the ceiling.
That is why fans, curtains, and even strong AC often feel like they are fighting a losing battle. You cool the air for a while, but the roof keeps feeding warmth back into the home, especially in the evening. Keep reading to understand why roof heat behaves this way and what actually works to reduce it.
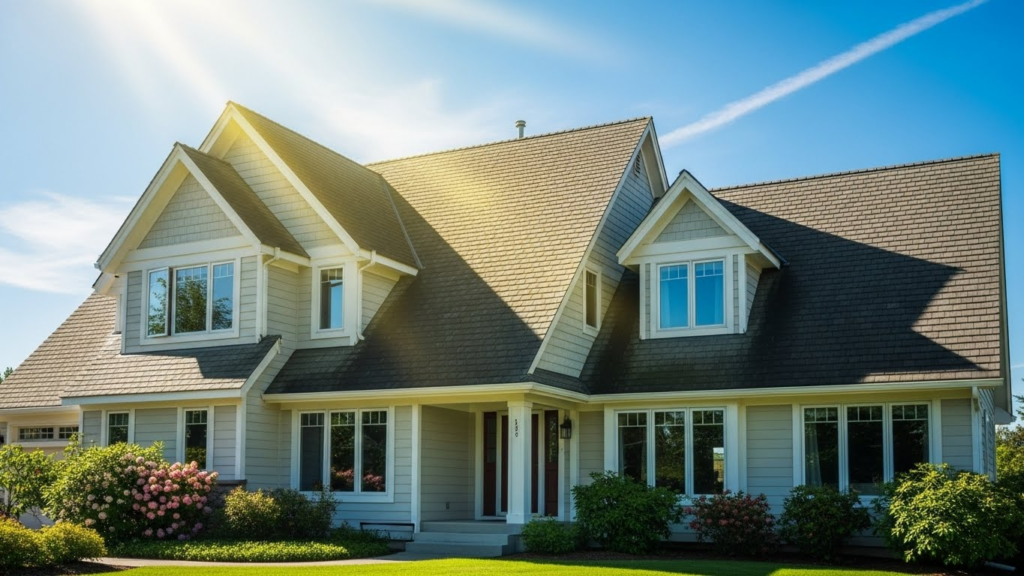
How Roofs Become the Biggest Heat Entry Point
A roof has the most direct contact with the sun. Walls get some shade from surrounding buildings and trees, but the roof usually takes the full hit for most of the day. The heat builds up on the surface, then moves inward through the slab and into the rooms below.
The U.S. Department of Energy explains that conventional roofs can reach around 150 degrees Fahrenheit or more in summer sun, while reflective roofs can stay more than 50 degrees Fahrenheit cooler under the same conditions. That temperature difference is not a small detail; it is the reason one home feels like an oven and another feels manageable.
Why Fans, ACs, and Curtains Barely Help
Fans move air, but they do not remove the heat source. Curtains block sunlight through windows, but roof heat enters from above, so you can still feel the ceiling radiating warmth into the room.
AC works, but it has to fight both the hot outdoor air and the heat coming from the slab. That is why AC can run longer, cool slower, and still leave the room feeling uncomfortable, especially near the ceiling.
The Real Cost of Untreated Roof Heat
Roof heat does not just make you sweat. It pushes up electricity use, increases AC wear, and makes upper floors harder to use during peak summer. It also stresses the roof slab itself. When concrete heats and cools daily, it expands and contracts, which can increase cracking over time. In simple terms, untreated roof heat makes you pay twice: once in comfort and again in bills and repairs.
Understanding Roof Heat Transfer (The Physics Homeowners Ignore)
Sunlight carries energy, and when it hits your roof, the roof absorbs part of that energy and turns it into heat. Once the roof surface gets hot, it starts pushing that heat inward through the slab. That heat reaches your rooms in three simple ways:
- Conduction: Heat moving through solid material, so the concrete warms on top and slowly transfers that warmth down into the ceiling.
- Radiation: Heat you can feel without touching, which is why a hot ceiling can still feel like it is throwing warmth at you even when the air seems cooler.
- Convection: Hot surfaces warm the nearby air and that warm air circulates around the room.
The Concrete Factor: Concrete acts like a heat storage block, soaking up heat during the day and releasing it slowly after sunset, which is why evening and nighttime can still feel hot even when the sun is gone.

Signs Your Roof Needs Heat Proofing
You can usually tell roof heat is the main problem by how the house behaves, not just how it feels:
- Rooms overheating despite ventilation.
- AC running nonstop with poor cooling.
- Ceiling heat radiation at night.
- Cracked slabs caused by thermal expansion.
Common Myths About Roof Heat Proofing
Roof heat proofing is full of “quick hacks” that sound logical but collapse in real summer heat.
| The Myth | The Reality |
|---|---|
| Myth 1: White paint alone is heat proofing | Basic exterior paint often chalks, peels, and loses reflectivity. It does nothing to stop stored heat inside a concrete slab. |
| Myth 2: Sprinkling water is a solution | It wastes water and creates seepage risk. Frequent wetting encourages ponding and waterproofing failure. |
| Myth 3: One coat products work | Performance depends on surface prep, thickness, and curing. Thin layers fail fast. |
| Myth 4: Cheap coatings are good enough | Low cost coatings degrade quickly under sun, meaning you pay for repeated labor and materials every season. |

Types of Roof Heat Proofing Solutions
Reflecting heat and blocking heat are not the same thing.
| Solution | How it Works | The “Catch” |
|---|---|---|
| Reflective Coatings | Uses high-SRI pigments to bounce sunlight away. | Effectiveness drops significantly if the roof gets dirty. |
| Thermal Boards & Tiles | Creates a physical barrier of insulation to slow heat conduction. | Can be heavy and expensive; requires pro installation. |
| PU & Elastomeric | Provides a thick, flexible membrane that reflects heat and seals cracks. | Requires precise thickness and priming to prevent peeling. |
| Green Roofs | Uses soil and plants for natural shade and cooling. | High maintenance; adds massive weight. |
Best Roof Heat Proofing Methods for Concrete Roofs
Concrete roofs need solutions that handle stored heat and daily expansion. The best methods focus on reducing roof surface temperature, slowing heat flow into rooms, and protecting the slab from cracking.
- Heat reflective coating systems with proper priming and thickness.
- Insulation layer plus waterproofing combo for long term performance.
- China mosaic and clay tile systems where water pooling is controlled.
- Advanced nano ceramic style coatings when applied by trained teams.
Step by Step Roof Heat Proofing Process
A proper process matters as much as the material. Here is what a professional sequence should look like:
- Step 1: Roof inspection and surface preparation. The roof is checked for cracks, ponding areas, and loose screed. Then it is cleaned properly so the system can bond.
- Step 2: Crack repair and waterproof base layer. Cracks are opened and sealed. The base layer is applied before heat proofing layers.
- Step 3: Heat proofing application methods. Coatings are applied in the right thickness, or insulation boards are installed with correct joint detailing.
- Step 4: Drying, curing, and performance testing. Curing time is respected, followed by checking for weak spots and water flow behavior.

Heat Proofing vs Waterproofing: Why You Need Both
Heat and water damage fuel a destructive cycle. Intense heat causes concrete to expand and crack, allowing water to seep in. Once moisture penetrates, trapped heat accelerates the breakdown. Combining both controls surface temperatures to minimize cracking while creating an impenetrable barrier against leaks.
Cost Breakdown: What Roof Heat Proofing Really Costs
The cheapest option is rarely the cheapest over time if it fails every season. Use this table as a simple guide.
| Level | Includes | Typical Lifespan |
|---|---|---|
| Budget | Basic reflective coating with limited prep. | Short. |
| Mid-level | Better coating system plus crack detailing. | Medium. |
| Long term | Insulation layer plus waterproofing system. | Longer. |
| Premium | High grade insulation plus robust membrane. | Longest. |
How Much Temperature Reduction Can You Expect?
Be careful with wild promises. Here is what is realistic in many homes:
- Surface temperature reduction can be large with reflective systems.
- Indoor comfort improves more when insulation is added, not just coating.
- Night comfort improves when the slab stores less heat during the day.
The EPA notes that cool roofs can lower maximum indoor temperatures in non-air conditioned buildings by roughly a few degrees Fahrenheit. That sounds small, but it can be the difference between sleeping well and waking up sweaty.
How Long Roof Heat Proofing Lasts
It depends less on the brand name and more on the basics being done right: surface preparation, edge detailing, and correct curing. Even a strong system can fail early if water keeps pooling, because standing water weakens layers and untreated cracks keep widening.
Best Roof Heat Proofing Solutions for Different Climates
Roof heat proofing is not one size fits all.
- Extreme heat zones: Prioritize insulation plus a reflective top layer.
- Humid and coastal areas: Focus on waterproofing strength and mold prevention, then add heat control on top.
- Mixed weather regions: Choose systems that balance summer cooling with durability across rain and winter.
DIY Roof Heat Proofing: What You Can Do
DIY can help with small improvements, but major systems fail when the surface is not prepared correctly. Avoid DIY coating jobs on large roofs unless you understand thickness control and crack detailing.
If you want safe DIY options, start small:
- Clean drains and remove debris to reduce ponding heat and water stress.
- Seal tiny visible gaps around penetrations with correct roof grade sealant.
- Add shade solutions like pergola fabric where structure allows.
Choosing the Right Roof Heat Proofing Contractor
The right contractor will talk about diagnosis and method, not just a product name. Use these questions to protect yourself:
- What is the root cause of the heat problem on my roof?
- What surface prep steps are included in writing?
- How will you handle cracks and ponding areas?
- What curing time is required?
Conclusion
Roof heat cooks your home because the roof absorbs intense sunlight, stores that heat in concrete, and releases it into your rooms. Once you understand that, the solution becomes clearer: reduce absorption, slow heat transfer, and protect the roof from cracking.
Stop Wasting Cooling Energy
Assess your roof, identify heat entry points, and choose a system that matches your slab condition.
