
Key Takeaways
- Use the 48-hour rule. If water sits after 48 hours in drying conditions, it is a drainage problem, not a normal puddle.
- Start inside. A leak map helps match ceiling stains to roof zones before you climb up.
- Check drainage first. Verify primary drains, scuppers, and overflow drains are clear and at true low points.
- Look for “footprints”. Dirt rings, cracks, and algae indicate chronic standing water.
- Measure the slope. Use a laser level to find sagging and hidden low spots.
- It is a load issue. 1 inch of water adds major weight; spongy zones require a serious structural review.
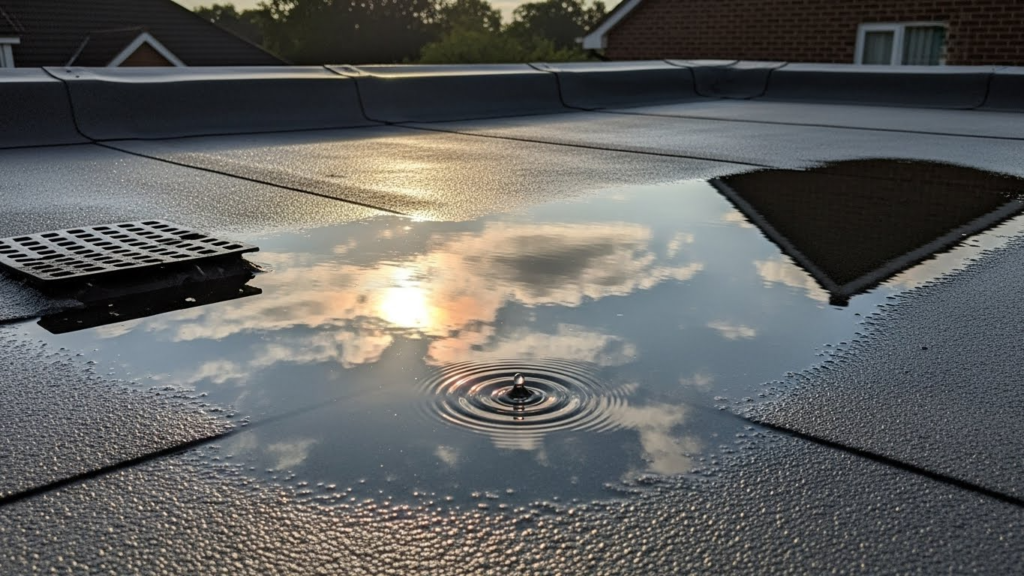
Flat commercial roofs are practical, but they come with one big weakness: they do not “shed” water the way a steep roof does. When water sits, it slowly finds the smallest opening, stresses seams, and adds weight where your roof is already working hard. Many people only notice the problem after a leak shows up inside, but ponding water usually leaves clues long before that.
In roofing, there is a simple idea that helps you judge what is normal and what is not: the 48-hour rule. ASTM D1079 is commonly referenced for roofing terminology, and ponding is often described as water that remains on a roof surface longer than 48 hours under drying conditions. If you want a clear, step-by-step way to inspect ponding water, drains, membrane damage, and structural risk, keep reading and use this guide as your walkthrough.
Safety First: Protocols and Preparation
Before you think about drains or membranes, treat roof access like a safety job. A flat roof can look stable while still having soft spots, slick growth, and hidden openings. Let’s understand in detail:
- OSHA compliance for fall protection: For low slope roofing work, OSHA requires fall protection when you are near unprotected edges at height, using systems like guardrails, safety nets, personal fall arrest, or warning line combinations.
- Two person rule: One person inspects, the other watches, assists, and calls for help if something goes wrong.
- Hazard assessment: Look for skylights, roof hatches, soft deck zones, loose gravel, and algae that can turn the surface into ice.
- PPE essentials: Wear non-slip footwear, safety glasses, and a high visibility vest, and keep gloves handy for debris removal.
Pre Inspection: The Interior Walk Through
A strong roof inspection often starts inside the building, not on the roof. Interior clues help you avoid guessing once you are up there. Think of it as building a simple map so you can connect interior damage to exterior roof zones.
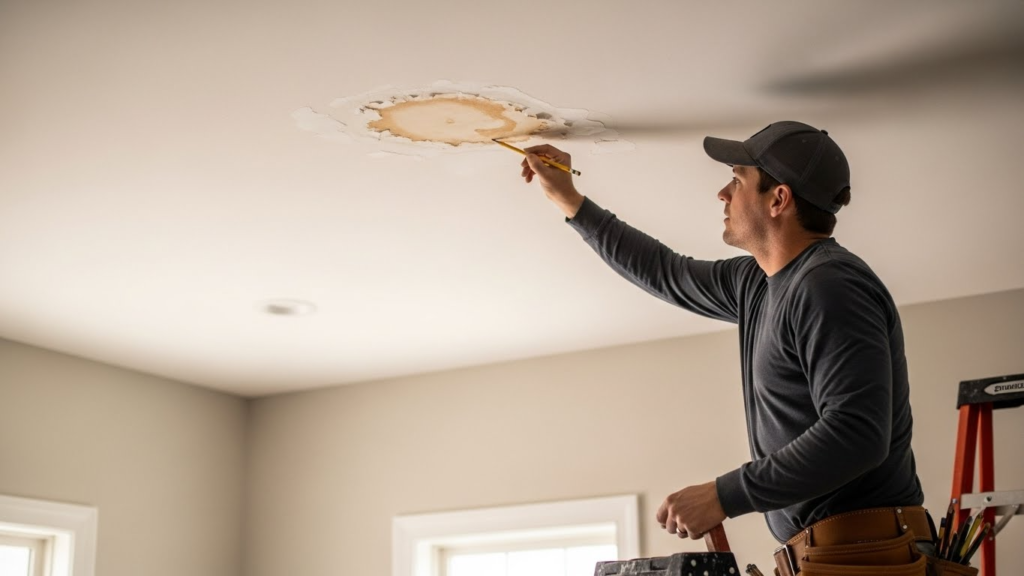
- Build a leak map: Mark ceiling stains, bubbling paint, wet tiles, and wall streaks. Then note the room location so you can line it up with rooftop areas.
- Check structural signs: Look at steel bar joists for rust and staining, and check concrete decks for spalling or cracking where moisture has been present.
- Talk to occupants: Ask when leaks happen (during rain or after?), how often they appear, and whether HVAC noise or vibration has changed. Timing matters because it can point to ponding versus wind-driven entry.
The Drainage System Audit: The First Line of Defense
Drains are the roof’s escape route. If that route is blocked or poorly placed, water will sit even if the membrane is in decent shape. Start with drainage because it is often the cheapest fix and the fastest win.
Primary Drains
Start by checking two things: blockage and elevation. Even a drain that looks clean can still “fail” if it is not sitting at the true low point. Clear away leaves, gravel, plastic, and roof granules that often build up around the collar. Then look closely at the drain bowl area to confirm it is actually the lowest spot on the roof. If the surface slopes away, water will pond around the drain instead of entering it, so you want to see a proper sump shape that naturally guides water into the opening.
Scuppers and Downspouts
Scuppers are a major safety valve during heavy rain. Check the scupper throat for debris and look for cracks, gaps, or worn sealant where water can slip into the wall assembly. Also, study the parapet wall below the scupper for staining or streaks, which can signal repeated overflow. Then do the water line check: if the water stain line sits below the scupper opening, it suggests water was rising and lingering in a way that points to bigger drainage failure.
Auxiliary and Overflow Drains
Overflow drains are your backup plan for the day the primary drains cannot keep up. Make sure screens are clear and the openings are not blocked. Then confirm they are positioned above the primary drain level so they activate when ponding rises. A common setup places them about 2 inches higher, which helps signal a developing problem early and prevents water from reaching dangerous levels across the roof.
The Membrane Inspection: Surface Analysis
Now you inspect what water actually touches. Ponding changes how the surface ages because water adds time, pressure, and chemical exposure. Move slowly, and treat the surface like evidence:
- Concentric dirt rings: Show repeat evaporation cycles, which means chronic ponding in that exact spot.
- TPO and PVC: Can show cracking, surface wear, or material changes after repeated wet exposure.
- EPDM: Can show loosened seams where adhesive performance drops and edges lift.
- Built up roofs: Can show blisters and gravel movement that expose underlying layers.
- Vegetation: Algae and moss hold moisture, and roots can work into weak points.
Technical Diagnostics: Measuring the Slope
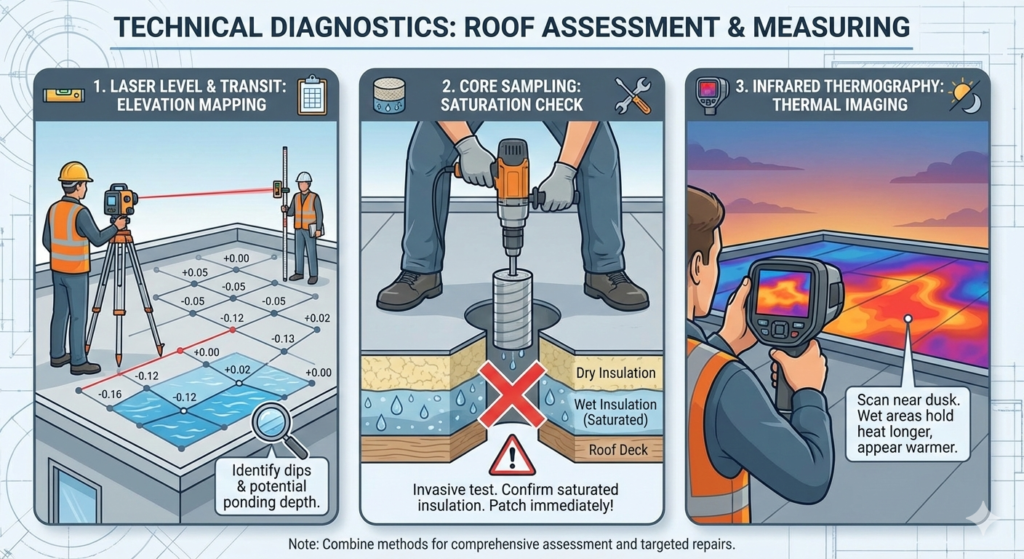
At some point, you have to stop eyeballing and start measuring. The roof can look “almost flat,” but even small sagging changes drainage. Many codes push for positive drainage (often one-quarter inch per foot). Here’s what you need to do:
- Use a laser level or transit: Map elevations in a grid so you can see where the roof dips and how deep the pond can get.
- Consider core sampling: If you suspect saturated insulation, a core can confirm it, but it is invasive and must be patched immediately.
- Use infrared thermography: Thermal imaging near dusk can spot wet insulation that holds heat longer than dry areas.
Structural Integrity and Load Analysis
Ponding is not only a leak risk, it is also a weight problem. Standing water adds load over large areas, and that load can slowly change the shape of the roof. A simple way to understand the risk is the weight math: one inch of water over one square foot weighs about 5.2 pounds. Across thousands of square feet, this extra load stresses the deck and framing.
This is why the deflection cycle matters. Water ponds, the weight increases, the deck sags slightly, and that sagging creates an even deeper low spot the next time it rains. During an inspection, do the “soft walk test” with caution. If a zone feels spongy, bouncy, or unusually soft, step back. If ponding is deep, widespread, or you see visible deck deflection, treat it as a structural concern and involve a qualified professional.
Root Cause Determination
Root cause determination is the moment an inspection becomes truly useful. Ponding happens because something is blocking water, something is shaped wrong, or something has changed over time. Most root causes fall into three buckets:
- Maintenance: Clogged drains and debris buildup.
- Design: Poor slope, bad drain placement, or missing tapered insulation.
- Rooftop Obstacles: HVAC curbs or heavy foot traffic compressing insulation to create new low spots.
Reporting and Remediation Strategy
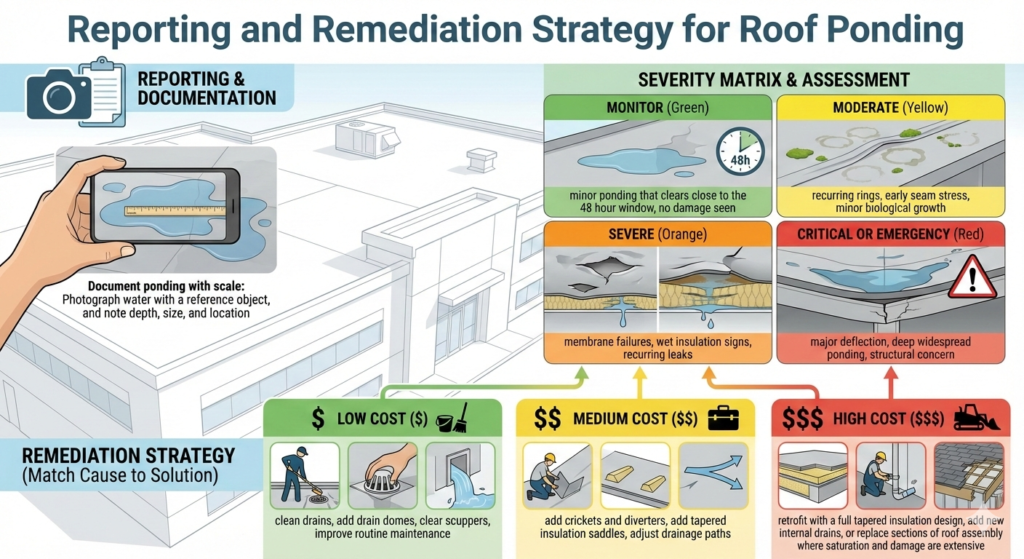
A good report turns observations into a clear plan. Start by documenting ponding with scale—photograph water with a reference object and note depth.
| Severity Level | Signs & Observations |
|---|---|
| Monitor | Minor ponding that clears close to the 48-hour window; no damage seen. |
| Moderate | Recurring rings, early seam stress, minor biological growth. |
| Severe | Membrane failures, wet insulation signs, recurring leaks. |
| Critical | Major deflection, deep widespread ponding, structural concern. |
Match remediation to the cause:
- Low cost: Clean drains, add drain domes, clear scuppers, improve routine maintenance.
- Medium cost: Add crickets and diverters, add tapered insulation saddles, adjust drainage paths.
- High cost: Retrofit with a full tapered insulation design, add new internal drains, or replace sections of roof assembly.
Conclusion
Ponding water is not just “a little water on the roof.” It is a slow pressure test that runs for hours, pushes on seams, soaks insulation, and adds load to the structure. Use the 48-hour rule as your first filter, then inspect in order: interior clues, drainage performance, membrane condition, slope measurements, and finally structural risk.
Are you ready to stop the ponding?
Book a professional inspection, get a clear digital report with photos, and understand your options.
